"Trekking the Tough Palawan's Rooftop, Mt. Mantalingajan Traverse"
DAY 0: Our way to Mt. Mantalingajan's jump-off
Five months after we secured sale plane tickets ------- we finally set off to Palawan on October 03, 2019. I was with my colleagues from Decathlon Philippines Inc., and some of our friends from mountaineering community who also flew from Manila. We're there to do the Mt. Mantalingajan Traverse, via Brgy. Ransang, in Rizal town to Brgy. Malis, in Brooke's Point.
The travel to Brgy. Ransang (entry point) is basically 5 hours drive from Puerto Princesa Airport, and entering the vicinity of Mt. Mantalingajan Protected Landscape required courtesies. Such as having orientation and getting of permit from the DENR CENRO in Quezon, and several registrations at Rizal Town, for PNP, Tourism Office, Philippine Army, and Brgy. Ransang. Like the usual "4 days and 3 nights itinerary", our Day 0 was spared for long rides, courtesy calls, and of course to prepare our supplies. Then, we spent our first night, and initial preparation at the covered court of Brgy. Ransang.
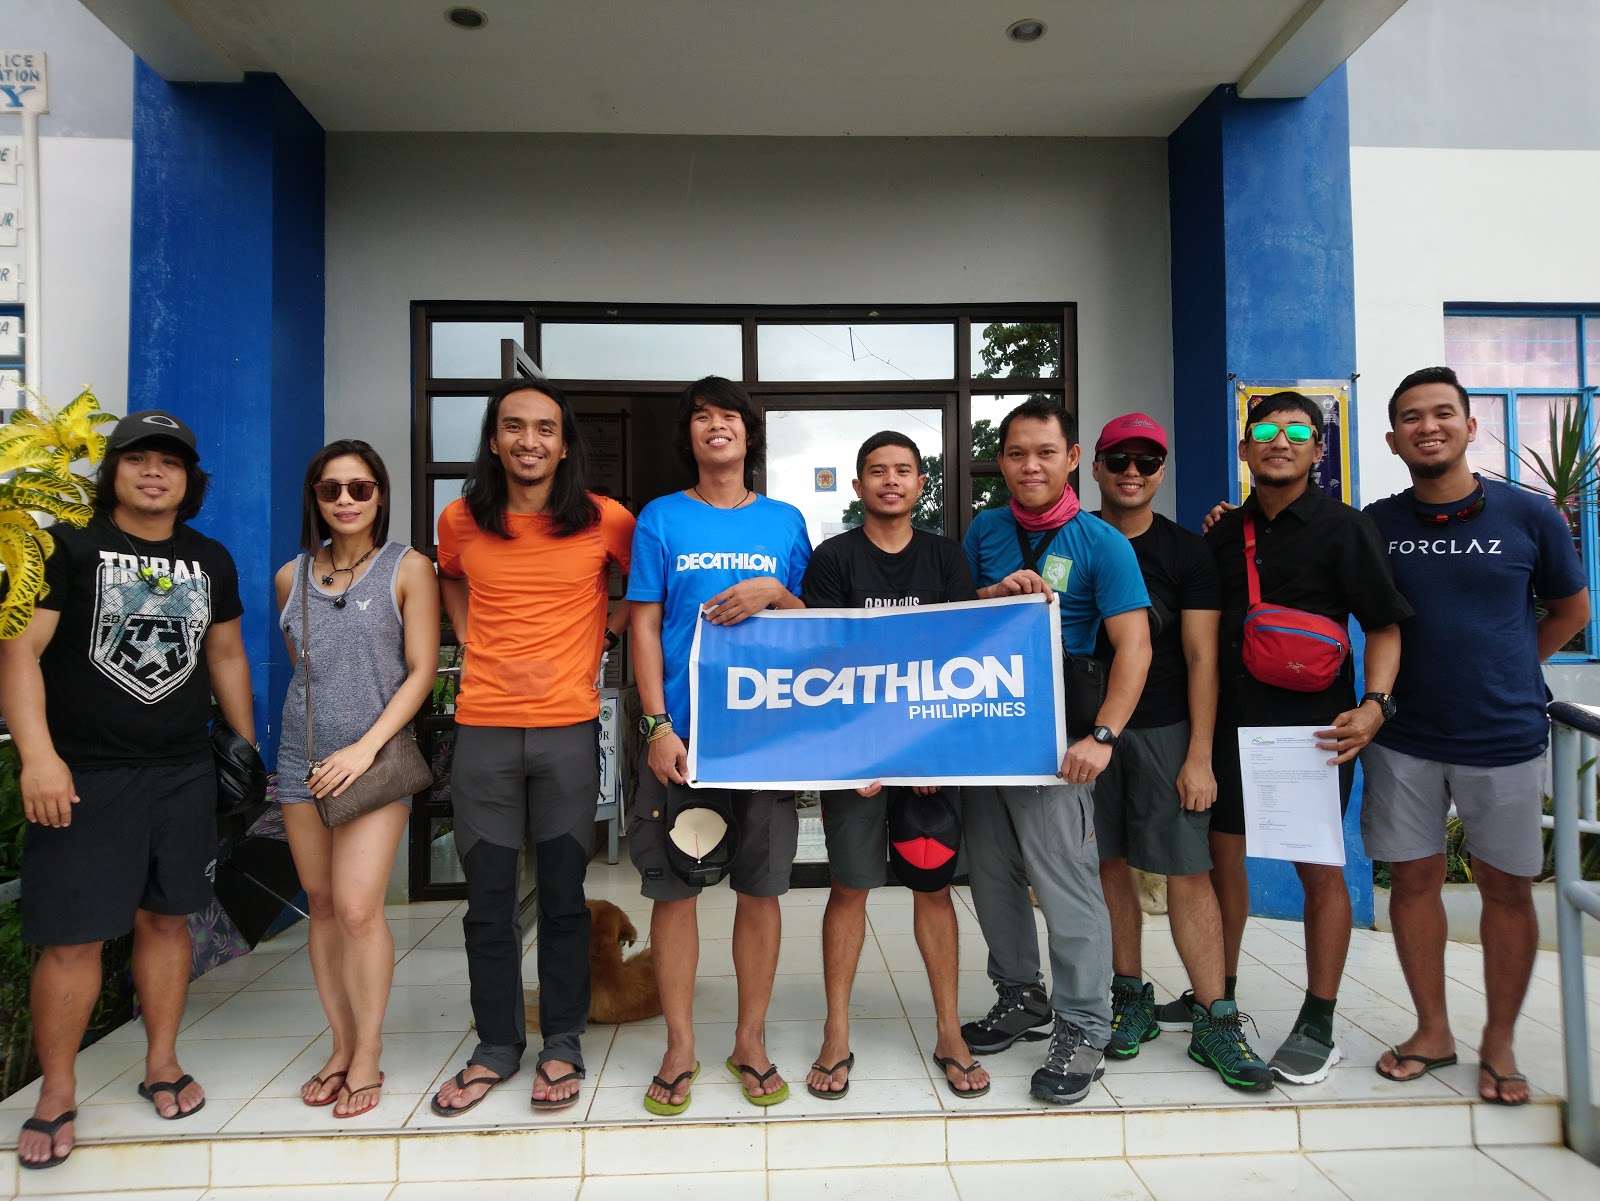
Our team at PNP Rizal, Palawan
Mac, Tiff, Marc, Francis, Jepoy, Mon, Jeff, Andrew, and Kevin
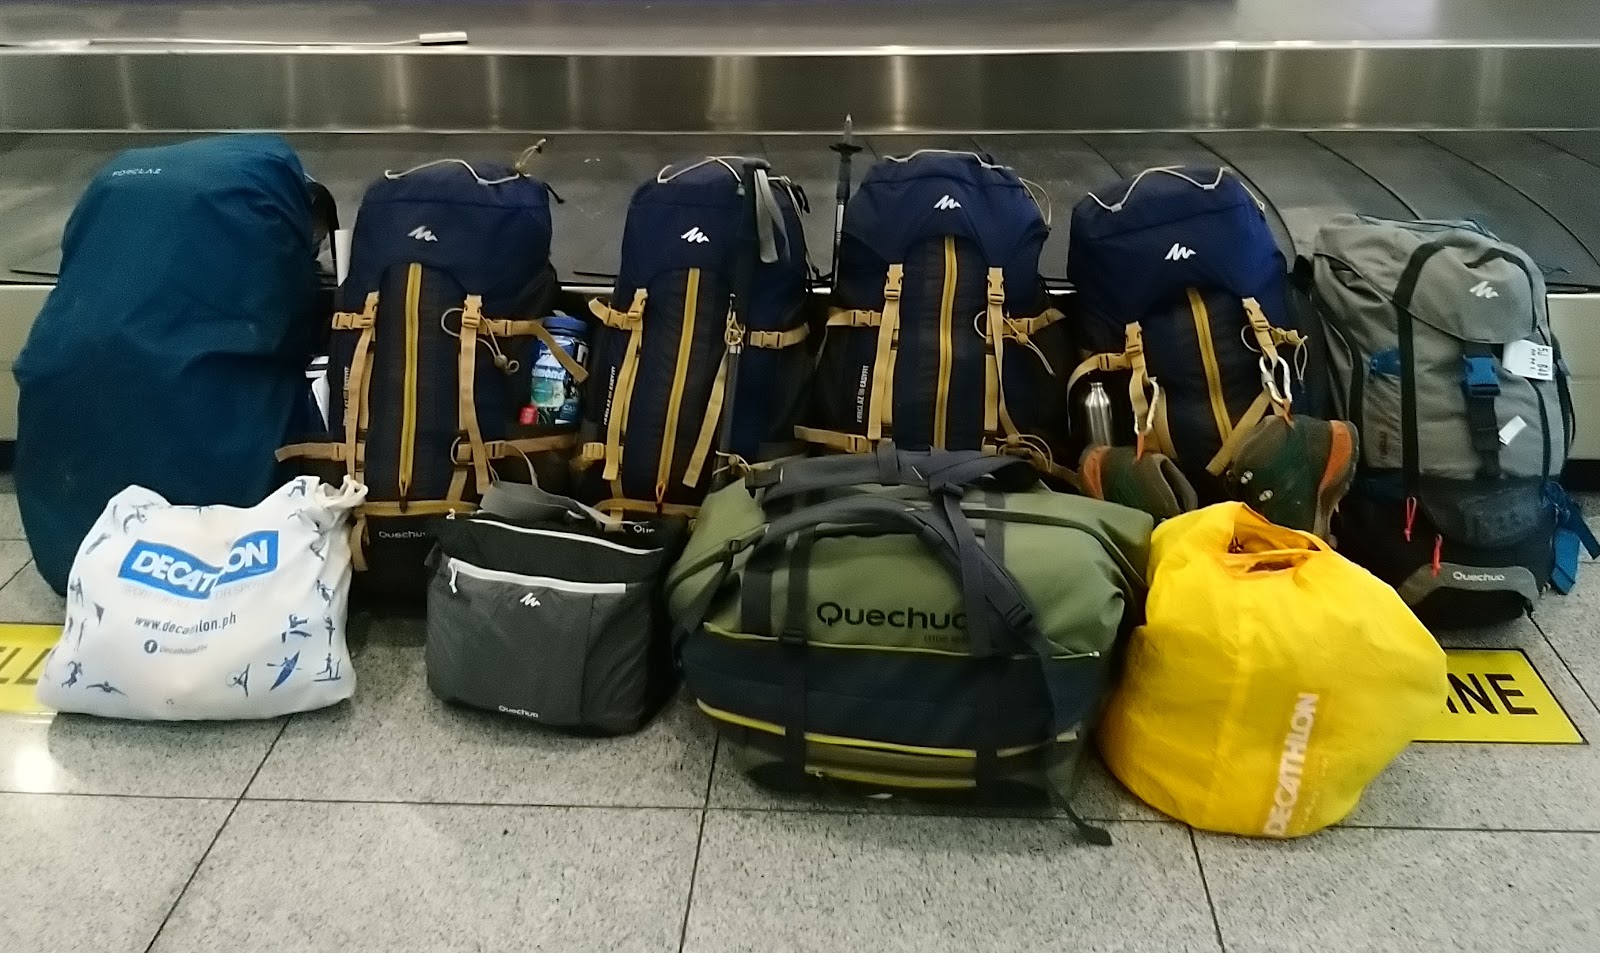
Our gears: Quechua and Forclaz
DAY 1: Balin-balin to Bulldog campsite
 |
| View from Bulldog Campsite (zoomed shot) |
Morning of October 04, 2019, we head out to "Balin-balin" Village, where we are suppose to camp on Day 0. There, we met our guide Kuya Binoy & our porters and did our final preparation. It was past lunchtime when we left the place. Since we didn't make to be there on Day 0, and rain occurred during Day 1, we hesitate to push our plan camping at "Kawayan Campsite". Our guide also told us the tendency of going there by night trek, which we should avoid due to potential presence of snakes on trail. Instead, we based ourselves at the available Hut in "Bulldog" campsite.
DAY 2: Camp away "Paray-paray"
 |
View of summit going up Paray-paray
|
As our itinerary adjusted, the Day 2 turned out to be a long trek, compelled us to start at 06:00 for 13 hours of ups and downs on October 05, 2019. Heavy rains poured again during halfway, but the scene became more dramatic, offered view of the summit and numerous waterfalls emit from the high slopes. Our trek continued, and the trail were getting steeper. Unfortunately, my colleague Kevin weakened from the impact of night-long socials at Bulldog campsite and experienced leg cramp, which hindered our ascent. So at around 19:00 we decided to do an e-camp to secure his recovery, at an area approximately 2 hours away from "Paray-paray" campsite which our group was wherein. We did a quick dinner, planned our trek for next day, then had our rest after.
DAY 3: Ascending Paray-paray and summit Mt. Mantalingajan
 |
| Morning scene going up Paray-paray |
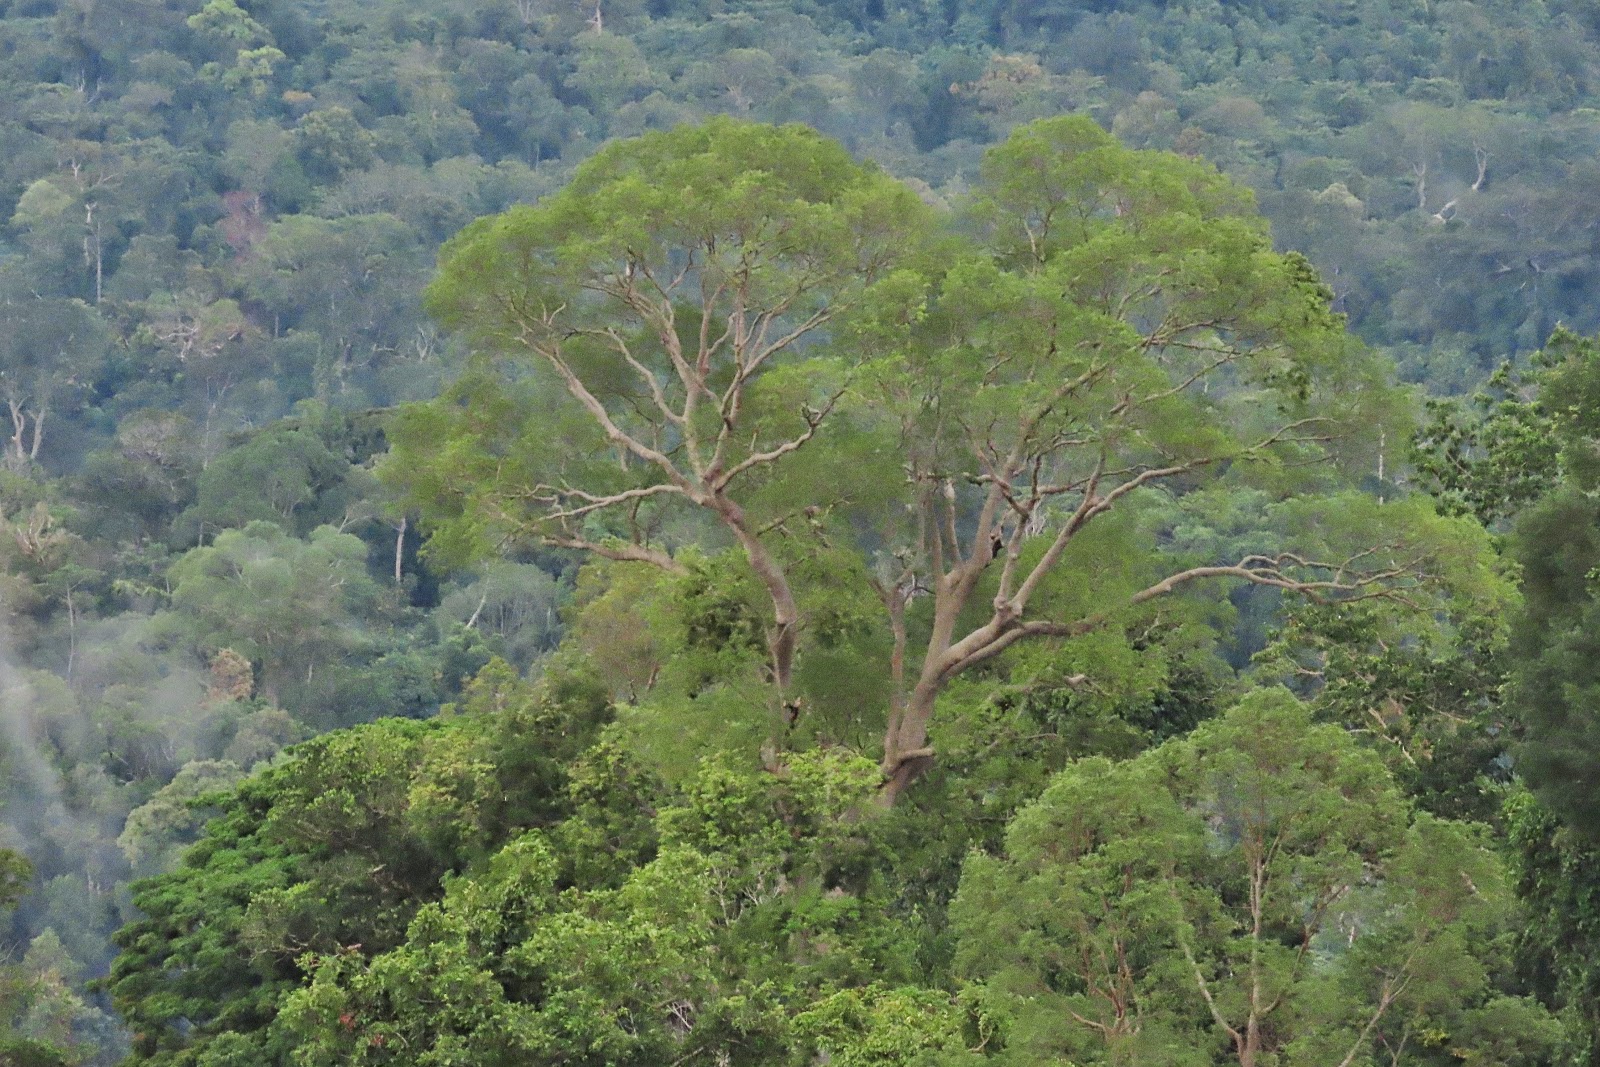
Kevin and I resumed ascending at 06:00 on October 06, 2019. This time, we took the narrow trails going up to Paray-paray campsite. As we go higher, the trail shows stunning characteristic of stunted forest environment. We had more closer view of the summit by passing some limestones viewpoint. The coast and other landscapes of Palawan also looming in the panorama. I was really surprised that the e-camp we did complimented us with breathtaking morning scene.
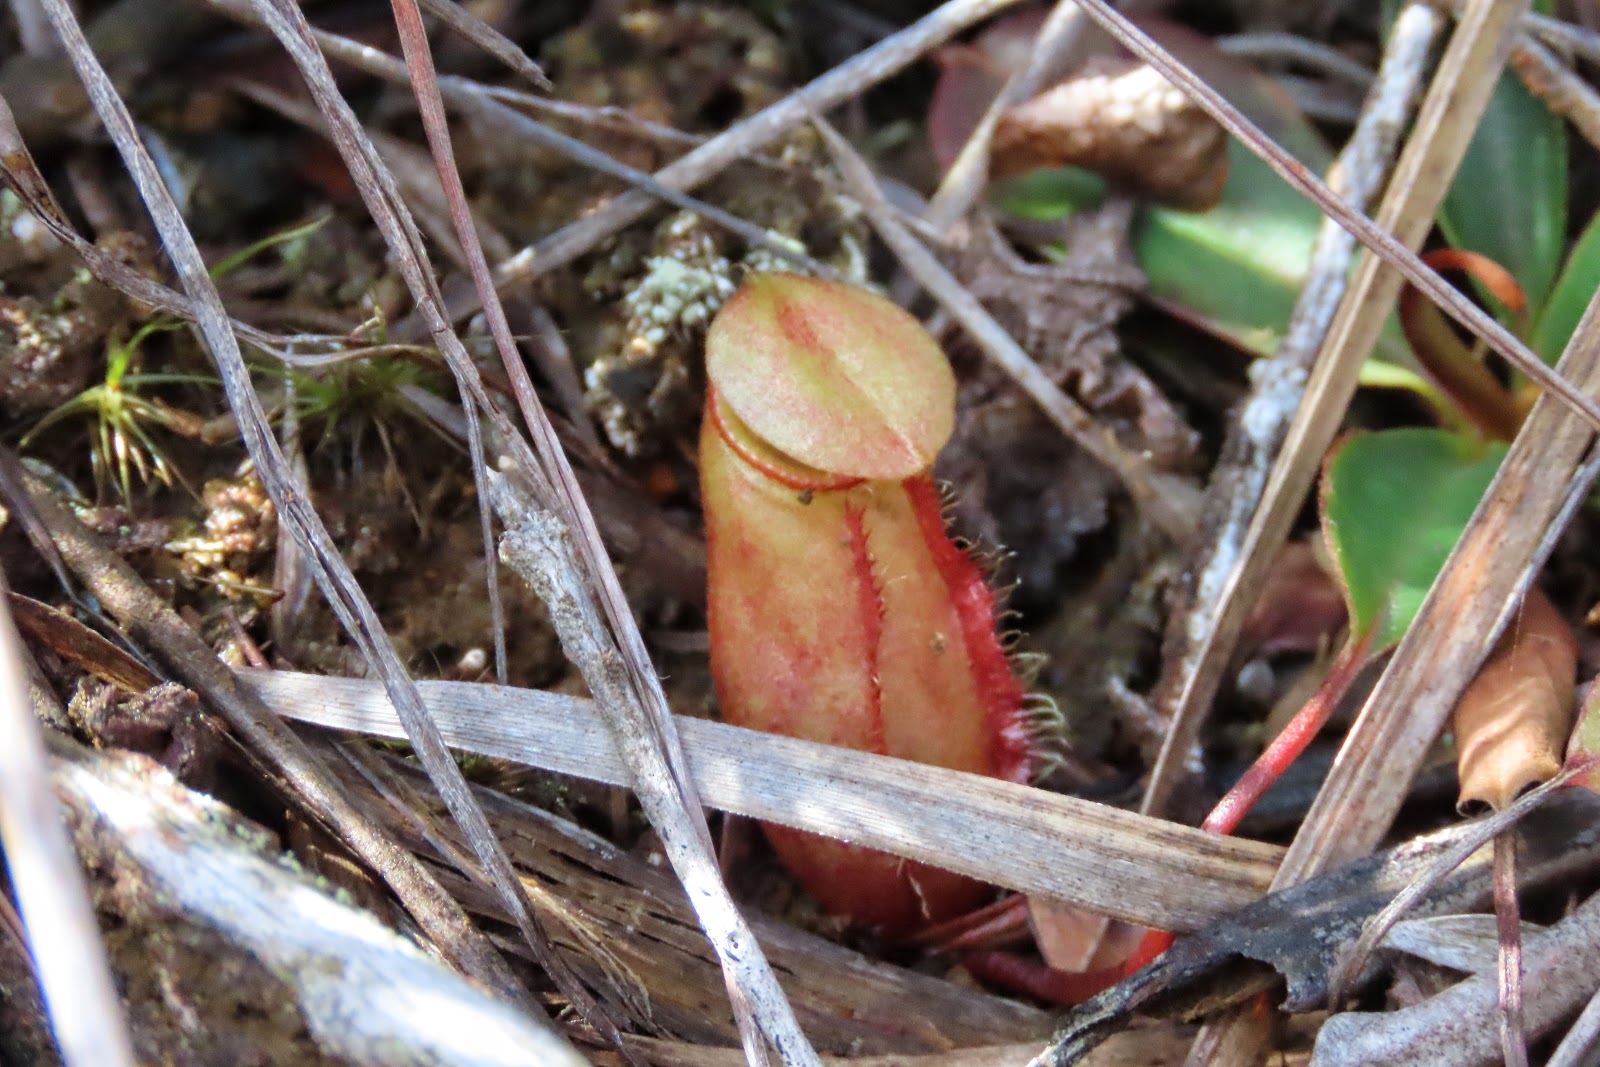 |
An inch-sized Nepenthes mantalingajanensis
|
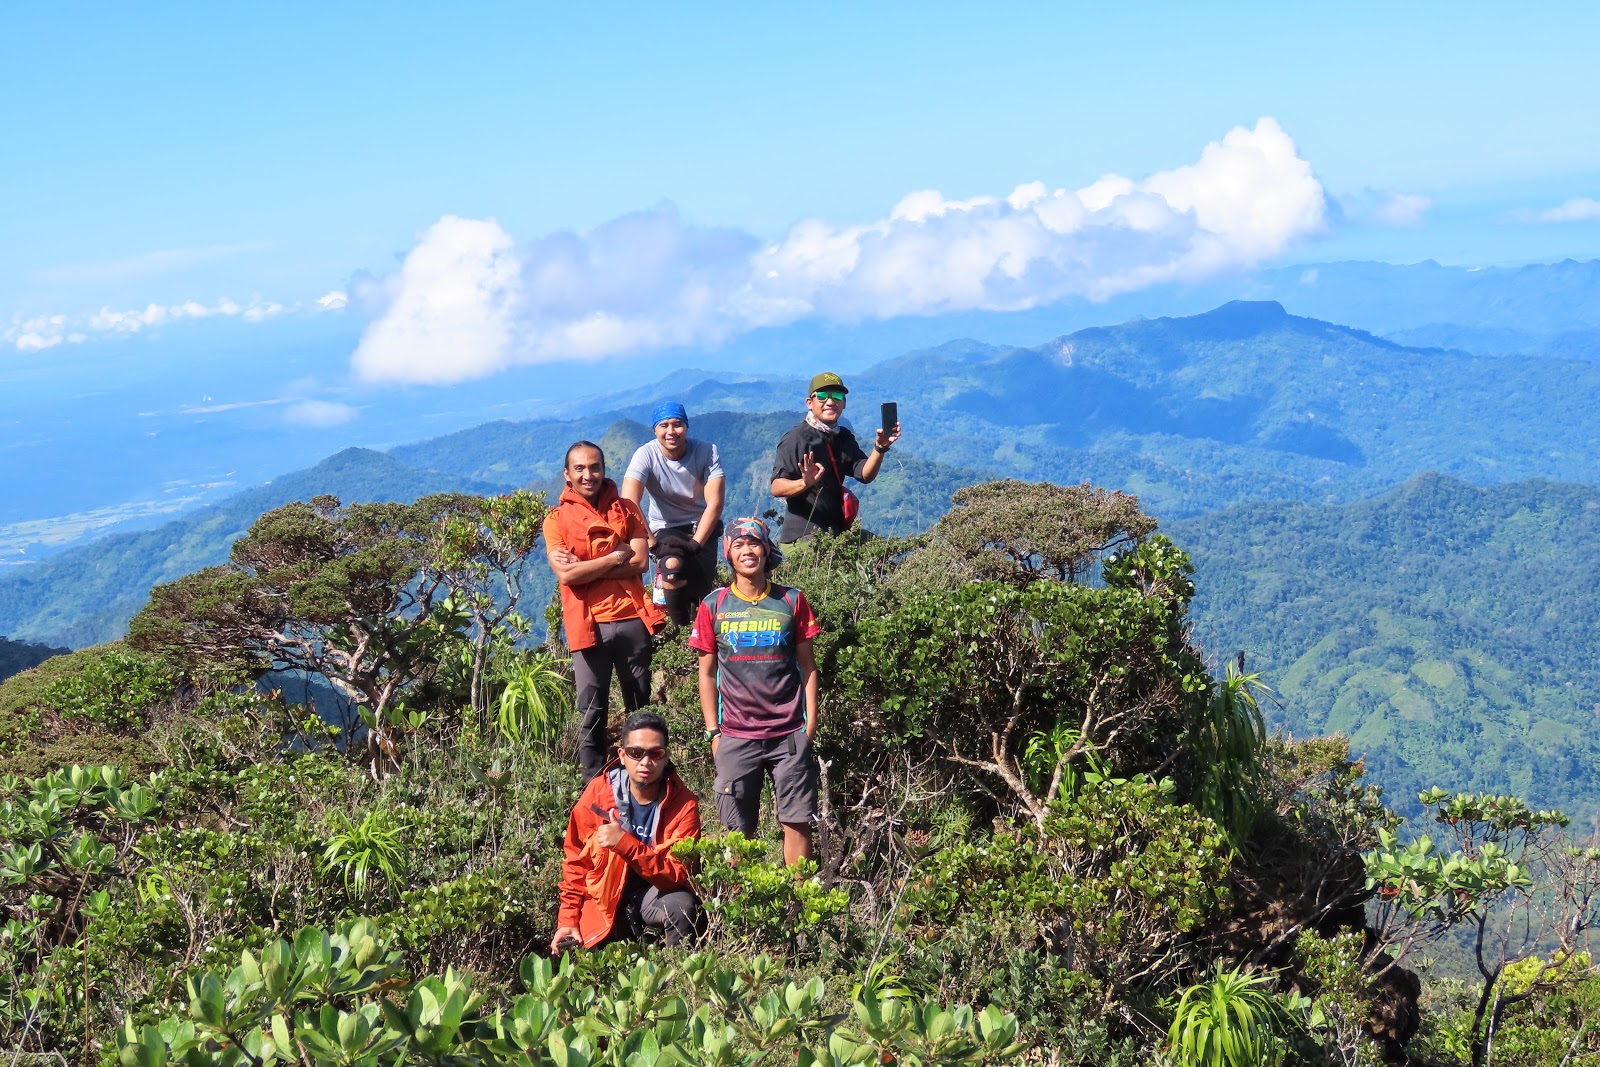
The group was preparing meals when we arrived at Paray-paray. A short breakfast after, altogether we ascend to the summit. We trekked through the dwarf forest and then crawled up to the knife-edge boulders. There was no stable clearing when we got to the top, yet the clouds momentarily open up a view. I took time to admire the scenery and keep an eye to the vegetation in the place, especially to the presence of endemic pitcher plants (Nepenthes mantalingajanensis).
After reaching the "Tough Palawan's Rooftop", we negotiated a challenging descent back to the campsite. And at the continuation of our trek past Paray-paray, we've been extra cautious in descending the slippery path ahead. The entire trek on Day 3 felt longer on my part and for Kevin, adding the hours of up to Paray-paray we did in the morning. Even so, the weather was generally favourable for our descent. We pleasantly ended our day at "Pisa-pisa" campsite.
Viewpoint in boulders section
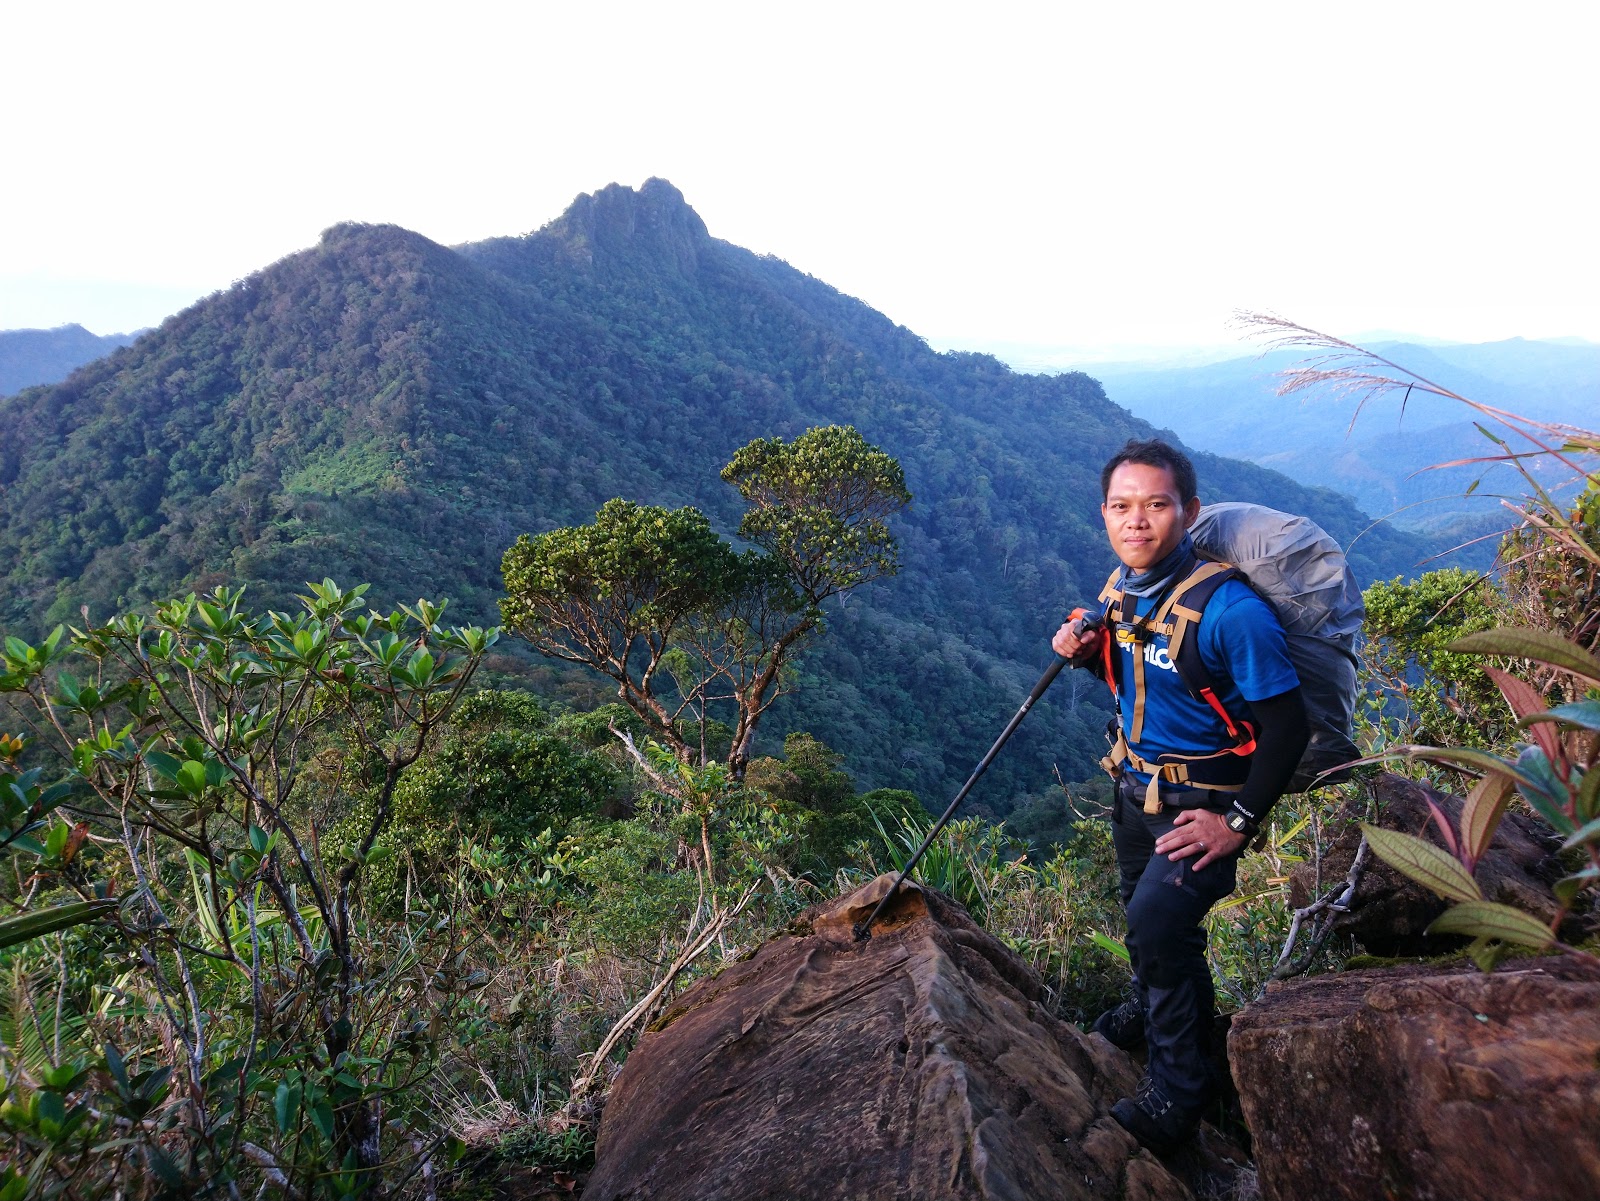
Approaching the summit of Mt. Mantalingajan
Day 4: The Final Leg, traverse to Brooke's Point
 |
| View of Magringgit Peak |
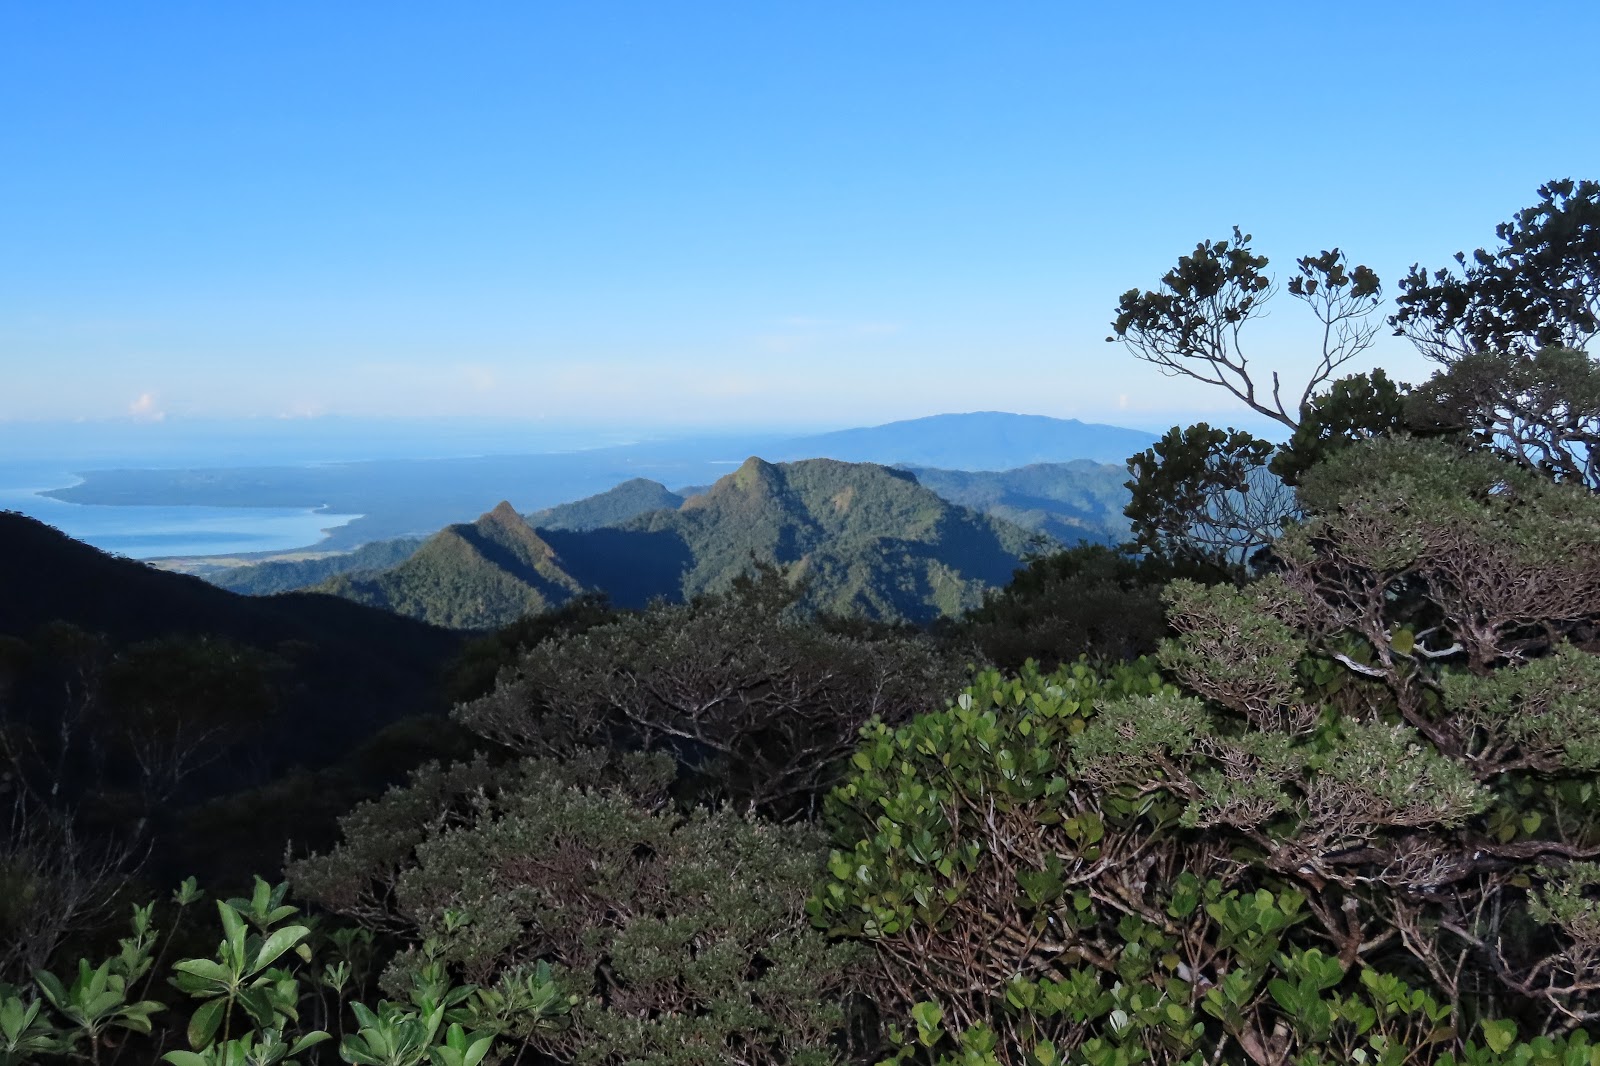
Traversing to Brgy. Malis (Exit point) is known as the most strenuous portion of Mt. Mantalingajan. With this consideration in mind, we intended to wake up early and started our descent from "Pisa-pisa" campsite at 04:00 on October 07, 2019. We passed through the thick mossy forest trails, followed with long slippery boulders, repetitive ups and downs, and lots of fragile ridges, which are all precarious. Dealing the traverse down to Brgy. Malis felt like crossing a mountain range. However, one will be treated to contemplate the features that are secluded in the traditional trail, like the "Magringgit Peak" and scenic slopes where the seascape and town of Brooke's Point is overlooking.
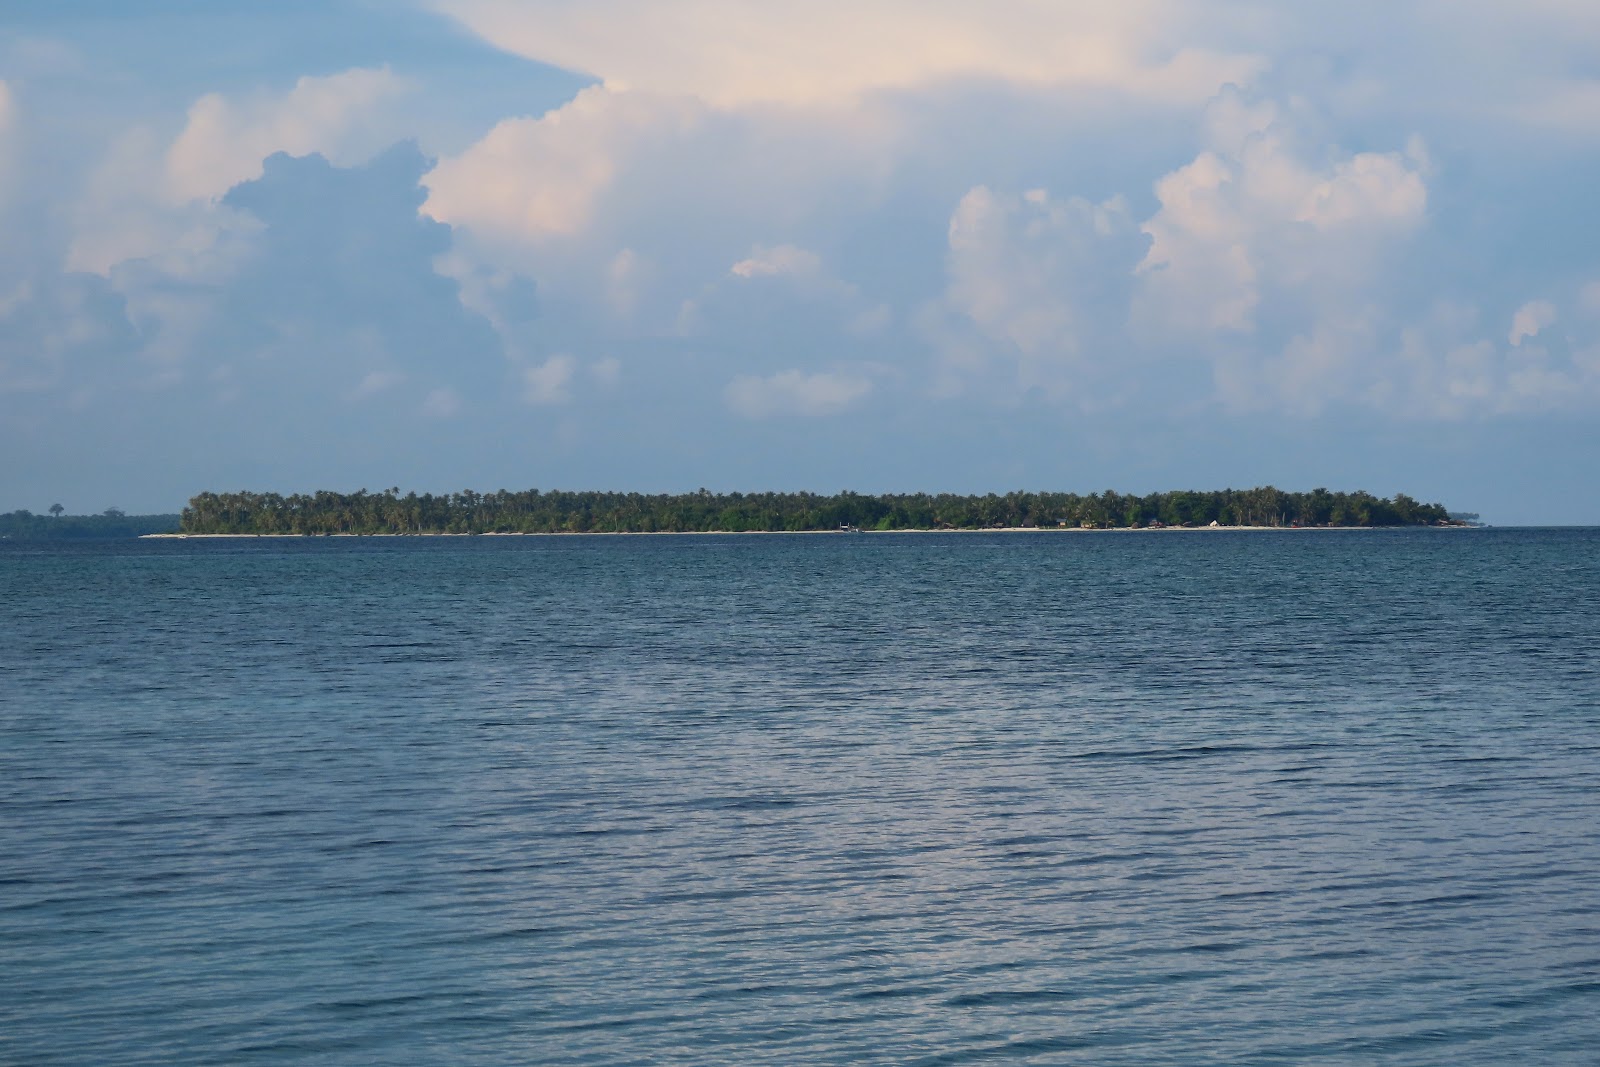
Finally, after a long thrilling traverse, all members of our group alighted at Brgy. Malis, Brooke's Point prior 17:00. The next day, we did a post-trek celebration by visiting the Islands of Patonggong, Tangkahan, and Patawan in Balabac. All these had been a refreshing treat for us before our flight back to Manila. Grateful for my first - definitely not the last - Palawan Adventure!
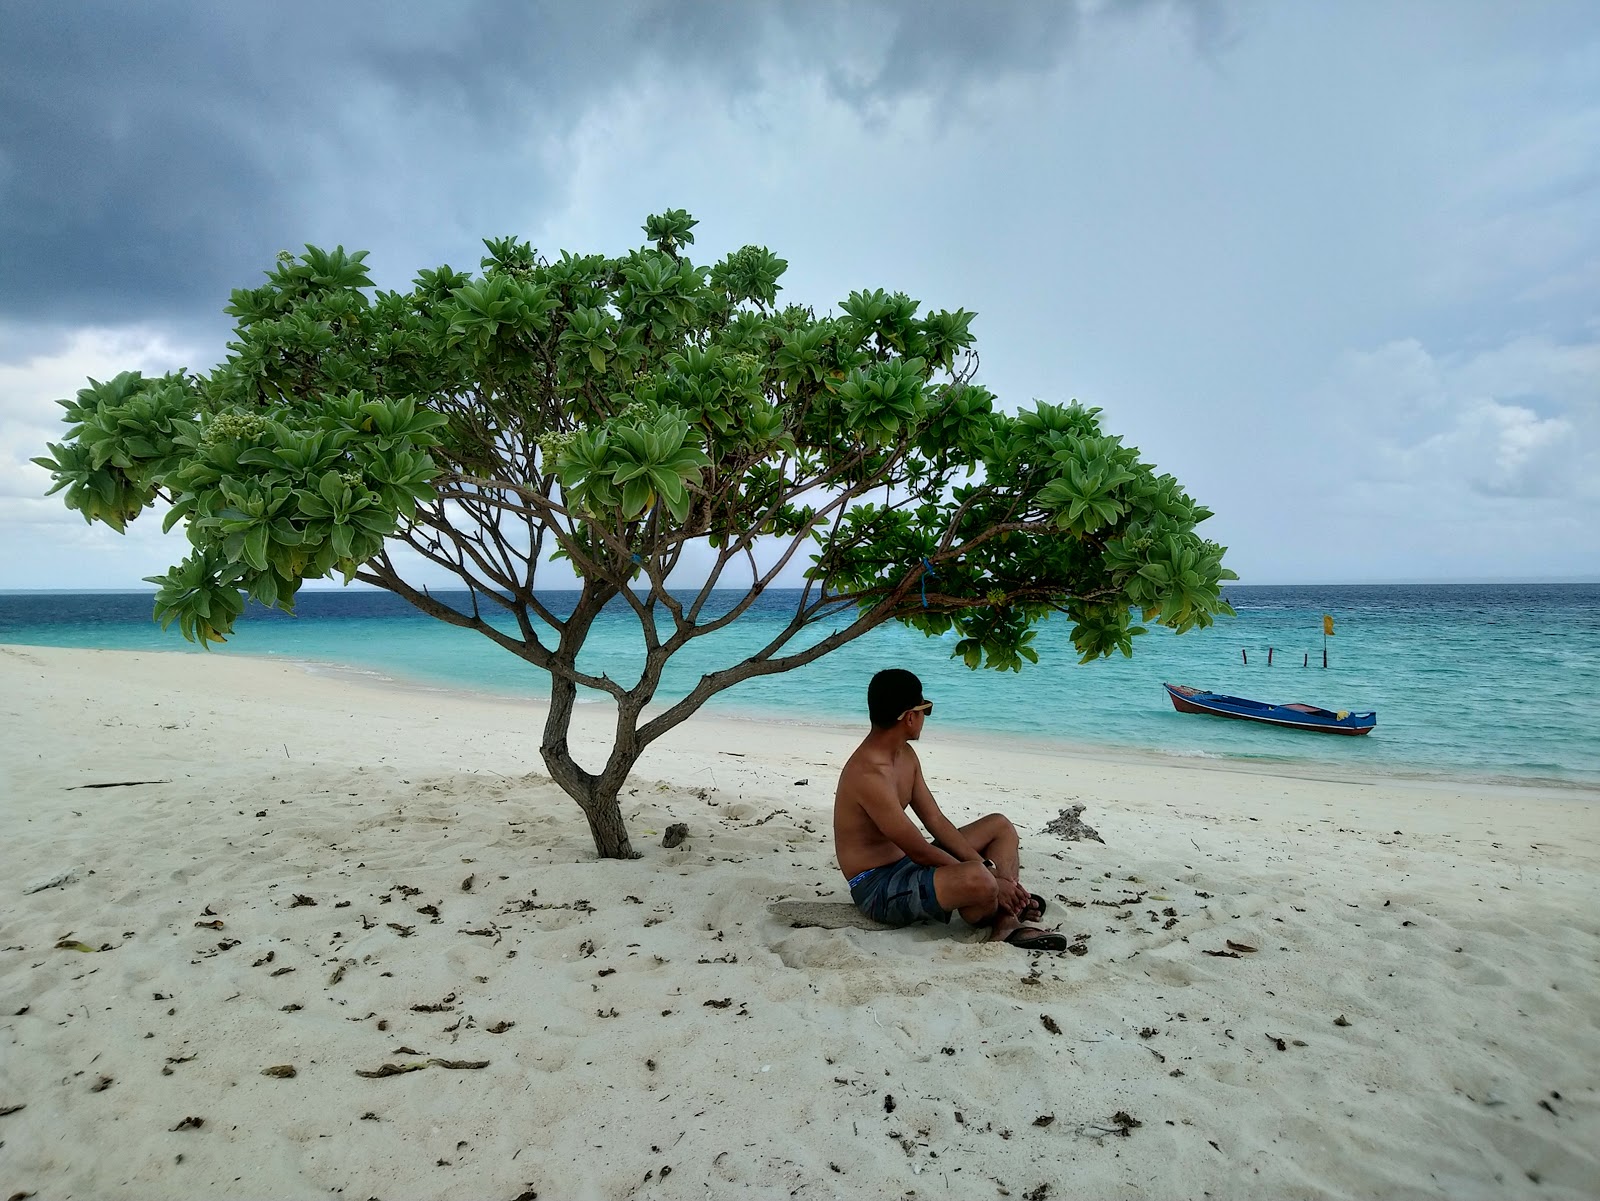
Sun Sear Beach Resort in Bataraza - Our base in exploring Balabac
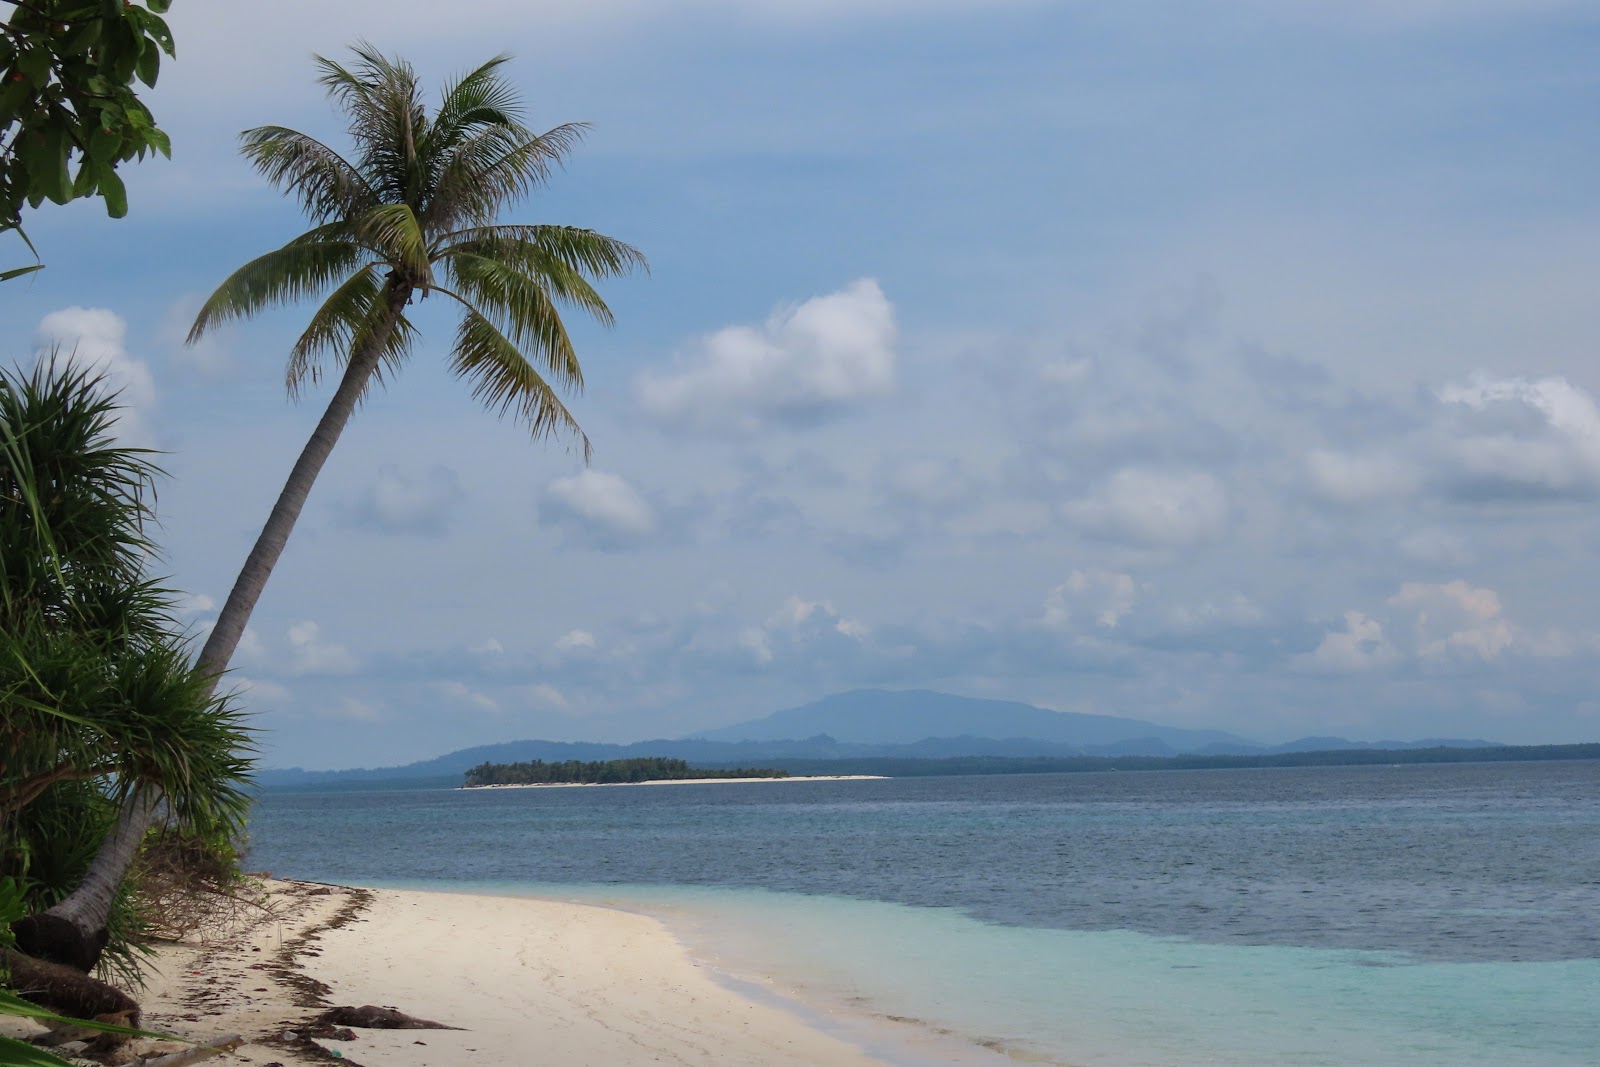
Scenery in Patonggong Island
Tangkahan Island
Patawan Island